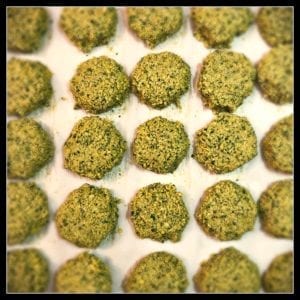
These little critters are amazing to eat and easy to make. I like to make a big batch, so I can have some for the week and then, just freeze the rest. The only thing you have to worry about is soaking your raw chickpeas overnight. Make sure you use raw chickpeas and not chickpeas from a can. The beans in a can are too mushy and will make the falafel too wet and difficult to get crunchy. I use a small cookie dough scoop and then turn them into small patties. You can also just make these into burger size patties. They make great burgers! You can eat them in a salad, on a bun with traditional condiments, or in a pita with hummus and Tzatziki sauce. So delicious.
I don’t really like to measure when I cook, so I’ll try and get you through, but don’t be afraid to experiment. If you like garlic, add more garlic, and so on. I usually get about 30 little patties. It also helps to make these in two batches and then mix them all together in one bowl. I have a 14 cup Cuisinart and it will not all fit. Enjoy!
Crispy Baked Falafel
Ingredients
- 1 1lb. bag chickpeas (garbanzo beans) uncooked, soaked in water with (1) tbsp baking soda & pinch of salt
- 1 medium onion or shallot
- 1 large handful size bunch each, Italian flat leaf parsley, cilantro (I use the bunches, as is, from the grocery)
- 1 small bunch mint leaves (spearmint/sweet mint, not peppermint)
- 3 cloves garlic
- 2 lemons (juiced)
- 2 tbsp ground cumin
- 1/8 tsp cinnamon (cinnamon brings out the flavour in cumin and adds a great floral taste, but go under rather than over. You don’t want to taste it. It should just be in the background.)
- 1 1/2 tsp salt (may need to adjust)
- 2 tsp black pepper
- 4 tbsp gluten-free flour + (2) tsp baking powder
- 2 tbsp sesame seeds
- dash of olive oil (optional)
Instructions
- Pre-heat oven to 375/F or 190/C.
- Divide all ingredients in half and pulse in food processor. You’re looking for the consistency of a large grain, so don’t process too much.
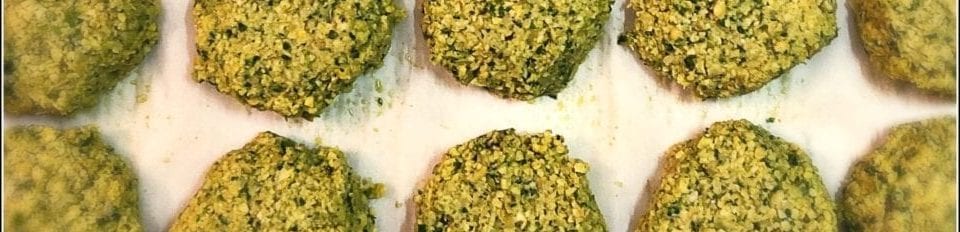
- Line baking sheet with parchment paper and load em up! You won’t have to worry about these spreading, so you can place close together.
- Pop in the oven and set timer for 15 mins. If they are getting toasty on top, it is time to turn them all over and finish up for another 15 mins. You may have to adjust the timing according to your oven.
I usually store in Pyrex container, in the fridge, for up to a week. If freezing, leave on a baking sheet and pop in the freezer until just frozen. Then put them in a gallon size freezer bag and they should be good for a few months!