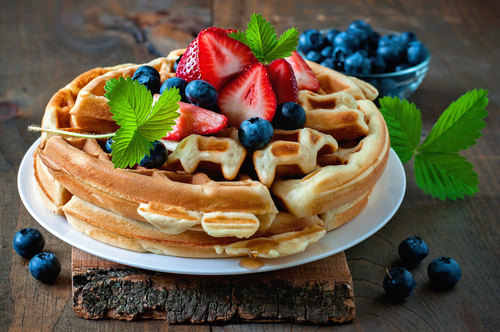
We LOVE the weekends and one of our favourite things to do is make waffles for breakfast. This is my favourite waffle recipe and it doesn’t disappoint.
I find I have more time to make a bigger breakfast on the weekend than I do during the week but these waffles are super easy and can be made any day of the week!
They are refined sugar free, made with oats (oat flour), and don’t contain any butter or dairy. Oat flour is a great substitute to normal flour as oats contain a good source of fiber, are high in vitamins, minerals, as well as antioxidants. I’ve made a lot of healthy gluten free waffles before but these are really GOOD. They actually get crispy on the outside and fluffy on the inside unlike some gluten free waffles.
If we somehow end up with leftovers I freeze the extras and pop them in the toaster for breakfast during the week!!
Gluten Free Oat Waffles
Makes 12 waffles
INGREDIENTS
- 3 cups oat flour (blend oats in a food processor until they reach flour consistency) *I use Bob’s Red Mill Gluten Free oats but normal oats work fine.
- 4 teaspoons baking powder
- 1 teaspoon salt
- Pinch of cinnamon
- 1.5. cup room temperature milk of choice (I use unsweetened almond milk)
- 1/2 cup + 1 tablespoon melted coconut oil or 5 tablespoons butter, melted if you prefer
- 4 large eggs
- 4 tablespoons maple syrup
- 2 teaspoon vanilla extract
INSTRUCTIONS
1. In a mixing bowl, whisk together the dry ingredients: oat flour, baking powder, salt and cinnamon.
2. In a separate bowl, whisk together the wet ingredients: milk, melted coconut oil or butter, eggs, maple syrup and vanilla extract. (If your coconut oil solidifies on contact with cold ingredients, gently heat the wet mixture in the microwave in ten seconds intervals, until it melts again.)
3. Pour the wet ingredients into the dry ingredients. Stir until just combined (the batter will still be a little lumpy).
4. Let the batter rest for 10 minutes so the oat flour has time to soak up some of the moisture. (This is important so don’t skip this step)
5. Turn on your waffle iron to preheat now.
Once it is ready, give the batter one last stir with your spoon. Pour batter onto the heated waffle iron. Let cook until the waffle is nice and golden (you want it slightly crispy), then transfer it to a cooling rack. It is important not to stack your waffles on top of each other, or they’ll lose their crispness. Repeat with remaining batter.
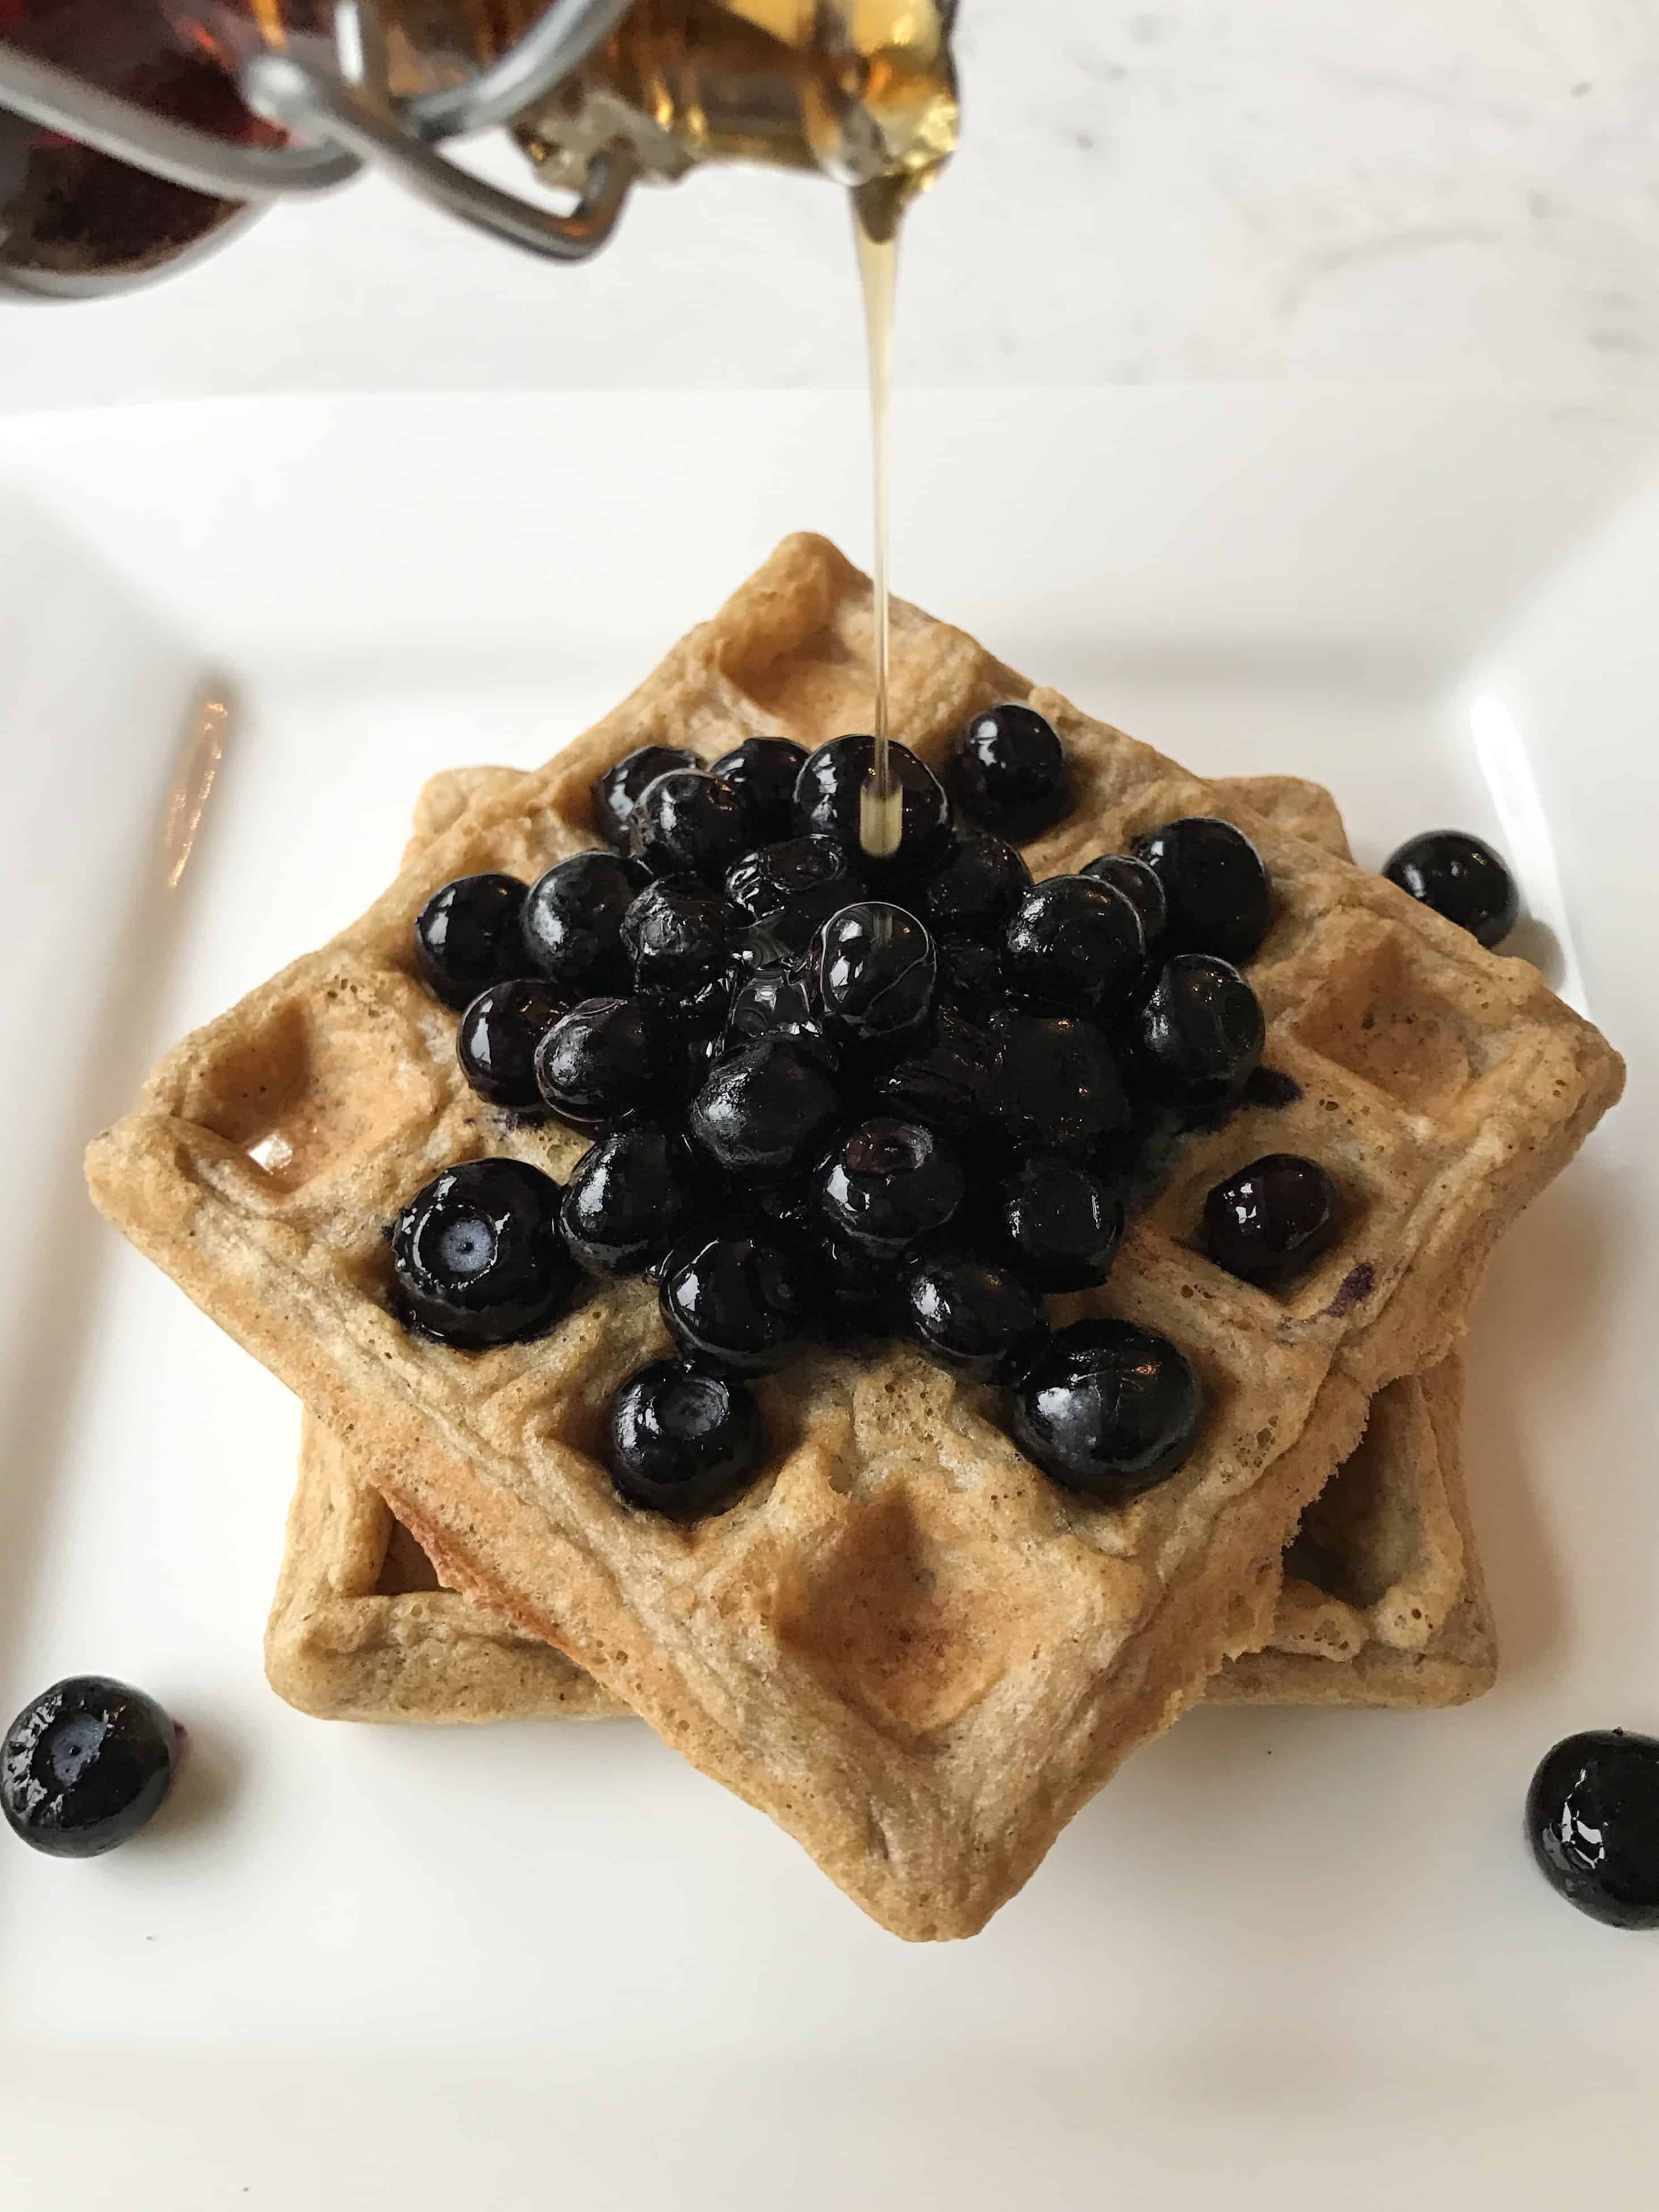
6. Serve waffles with maple syrup or any other toppings that you prefer!
Enjoy!!
xo Chelsea